- Open “Brave” browser on your Windows.
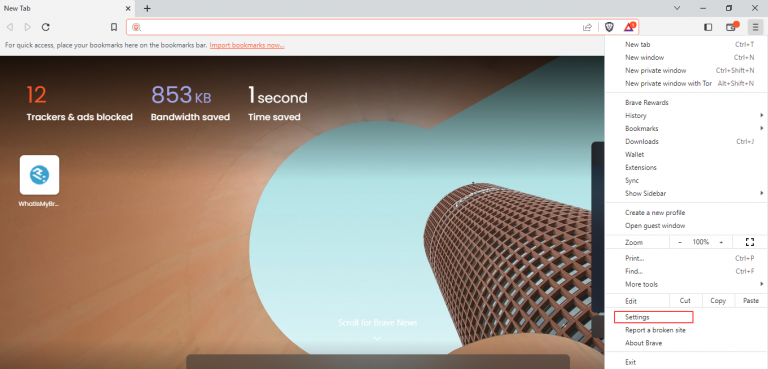
- Click the three horizontal lines icon in the top right corner of the screen to open the menu.

- Select “Settings” from the drop-down menu.
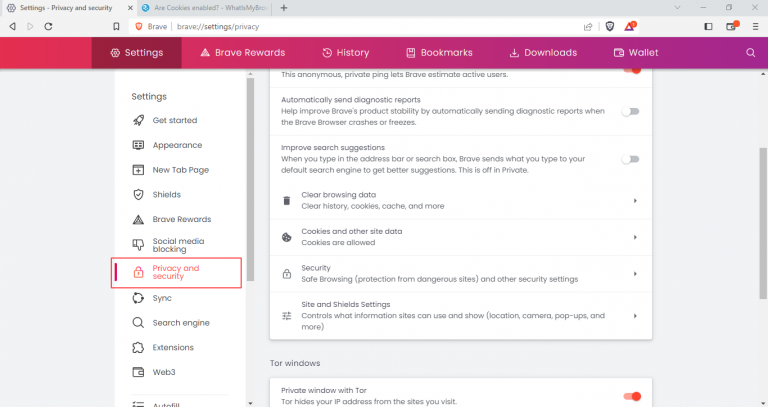
- Scroll down to the “Privacy and security” section.
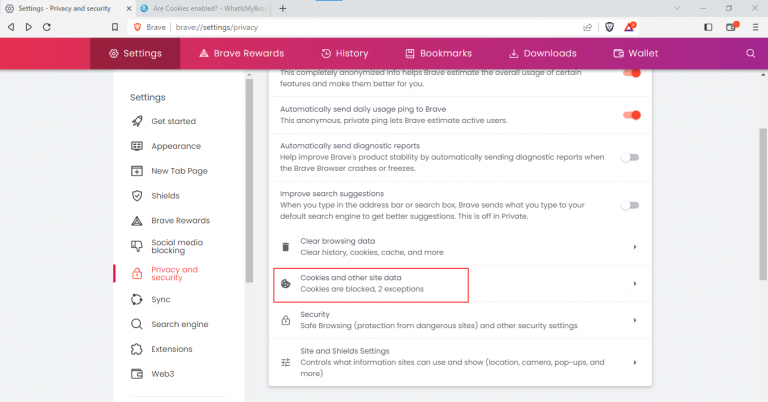
- Click on the “Cookies and other site data” option.
- Select “Allow cookies” from the list of options to enable cookies.
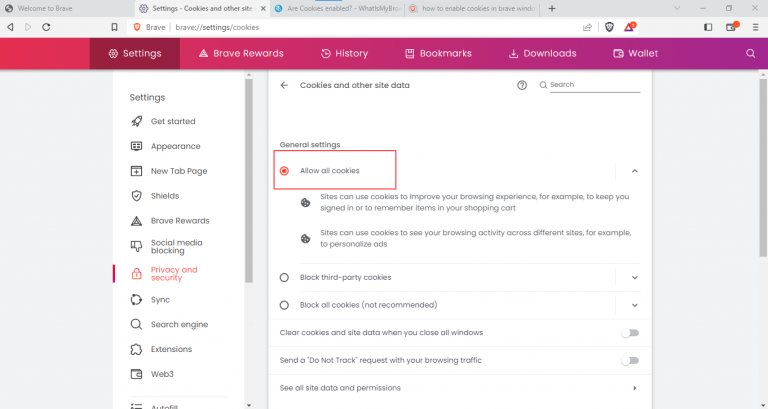
That’s it! You have successfully accessed the cross-site cookies settings in Brave on your Windows.


